|
How to Start a New Organic Garden
BY COLLEEN VANDERLINDEN Updated 10/25/16
Planting and maintaining an organic garden is a rewarding experience. While many of the steps for making a new organic garden are similar to starting any type of garden, there are a few noticeable differences. For example, there is a lot more work up front, planning and analyzing the site. This work is essential for any organic garden: ideal conditions result in healthier plants, fewer pest and disease problems, and a more care-free garden.
Step One: Goal SettingBefore you ever put shovel to soil, before you buy a single plant or seed, you need to know what your goals are for your new garden. Are you hoping for a pretty planting bed to give your home curb appeal? Maybe you’re planning a vegetable or herb garden, or that flower cutting garden you’ve always dreamed of. What you choose to grow will have a huge impact on selecting the site for your new garden.
Whatever your goals are, it’s important to be realistic. You may dream of long perennial borders `a la Gertrude Jekyll, but it’s best to start with something small and manageable. You can always expand beds later. Keep your hopes for expansion in mind as you consider your site.
Step Two: Site SelectionIt is time to spend some time analyzing your yard. Where would be the best place to put a new garden? Keeping your goals in mind, start observing areas of your yard that look like they’ll work.
If it’s an herb or vegetable garden you’ve got in mind, you’ll need a site that gets at least six hours of sun per day. You’ll also need to make sure that the site drains well—if it’s like a swamp in the spring and summer, it won’t work for herbs and vegetables, which prefer well-drained soil. If it’s an ornamental bed, consider placing it where you can enjoy it from inside your house as well.
Once you have a site selected, observe it for a day or two. How many hours of sun does it get? Does it get bright morning sun, or hot afternoon sun? What’s the soil like? By doing a few simple tests, you can analyze what kind of soil you have, and figure out ways to improve it.
Step Three: Creating the BedNow that you have your perfect site selected, it’s time to start digging. The first step will be deciding on the size and shape of your new garden. This can be done by putting down a garden hose and adjusting it until you get the size and shape you want, which is a good option for beds with curved borders. If you are going with a more formal, geometrical bed, you can use string and stakes to create an outline, or simply measure the size and mark your borders in paint.
Most likely, there is something currently inhabiting the space you’ve chosen for your new garden. Whether it is grass, gravel, or an existing planting, you will need to completely clear the area. This is the hardest part of the entire process, but once it’s done it will make the rest of the process a breeze. There are other methods of making a new garden bed, but if you want your bed to be ready for planting now, digging is the way to go.
Step Four: Amend the SoilGood soil makes for a good garden. The easiest, best way to amend soil in a new bed is to add compost, and plenty of it. If you make your own, add all you can to your new bed. You can also purchase compost in bulk and have it delivered to your home, or purchase it in bags at home and garden centers.
If you took the extra step of sending your soil samples to your cooperative extension service for testing, follow their recommendations regarding nutrients and acidity.
Step Five: Plant SelectionThis is the fun part: your garden is ready for plants. Time to hit the nursery and make your selections. A word of caution: most nurseries carry plants that were conventionally grown using chemical fertilizers and pesticides. They will bring some trace amounts of these chemicals into your garden.
Also, plants grown conventionally tend to get almost “addicted” to the chemicals they are raised on, and will show signs of stress when weaned off of these chemicals. They will adjust to chemical-free conditions in time.
It’s getting easier to find organically-grown plants in many home and garden centers. If you are starting your garden early in the season, you can select organic seeds and start your own plants. Organic plants and seeds will always clearly be labeled as such. There are also several good catalogs that sell organic plants.
As far as the plants themselves, be sure to closely inspect any plant before you bring it home. Look for signs of insect or disease problems. Remove the plant from the pot and inspect the root system. Does it look healthy and robust, or is it straggly and weak? If the plant is rootbound, you can still purchase the plant, but you will need to slice the root ball before planting so the roots will start growing out.
Step Six: PlantingWhen you get your plants home, give them all a good drink of water, even if you plan on planting them immediately. A thoroughly moist root ball will help your plant adjust better to its new surroundings, lessening transplant shock.
To plant your plants, dig a hole just as deep and at least twice as wide as the root ball of your plant. Place the plant in your prepared hole, backfill with the soil you removed, tamp it in, and water it thoroughly.
Once you have all of your plants in, give the entire garden a three inch layer of organic mulch, such as shredded bark, hay, chopped leaves, or grass clippings. This will keep weeds down while retaining soil moisture.
Step Seven: LabelingLabeling your plants now will ensure that you will remember exactly what you planted. You can do this by installing plant labels near each plant, or by making a map of the garden to keep for future reference. This will help remind you where plants should be emerging in the spring, as well as which cultivars you planted.
There is some work involved in creating a new organic garden, but it will pay off in the years of enjoyment you will gain from it.
Source: https://www.thespruce.com/starting-a-new-organic-garden-2539878
| 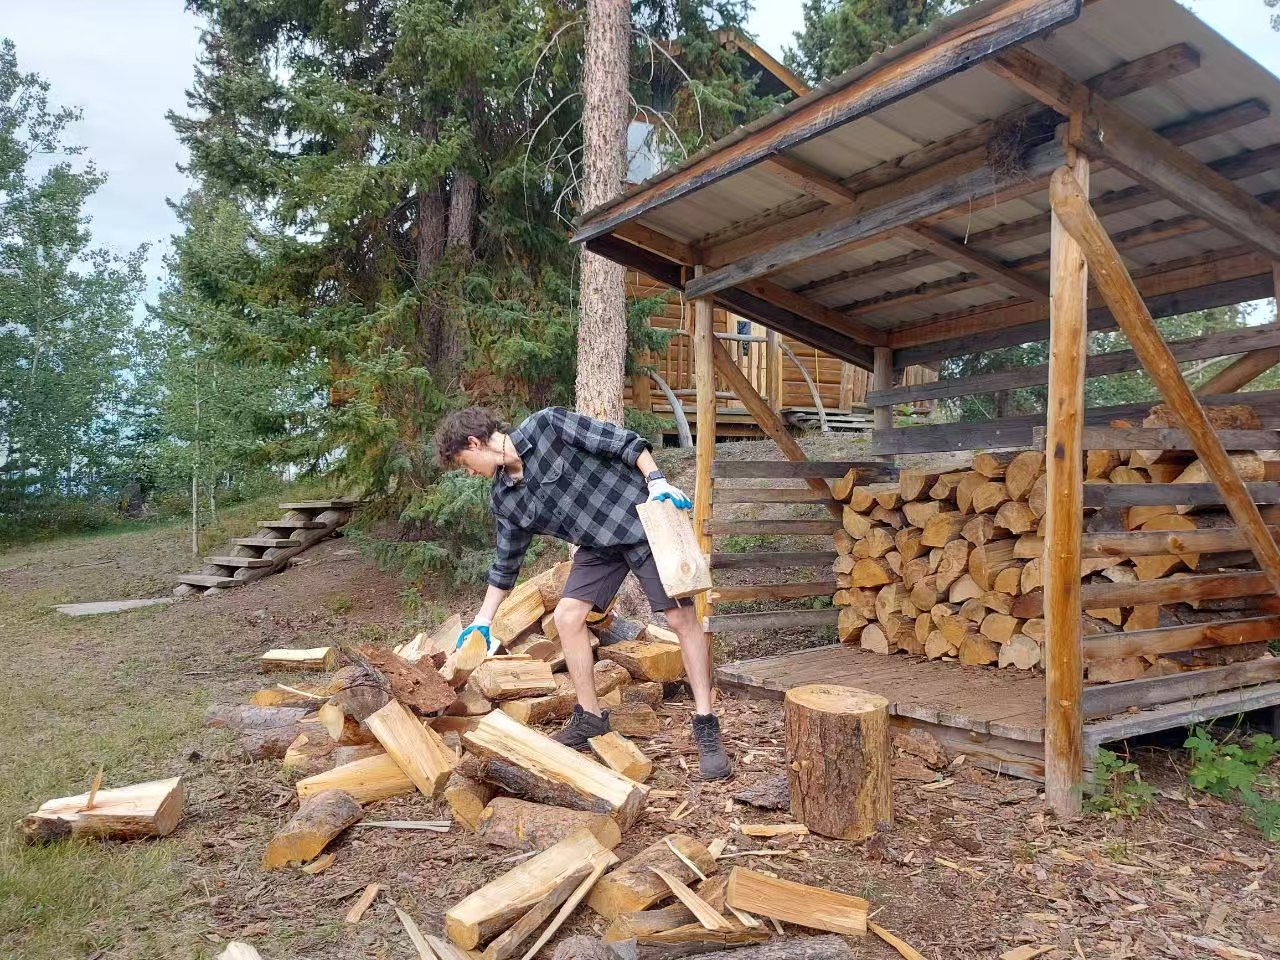 Haha, I’ve got a helper now!
Xuefeng
September 8, 2024
(Translation edited by Q
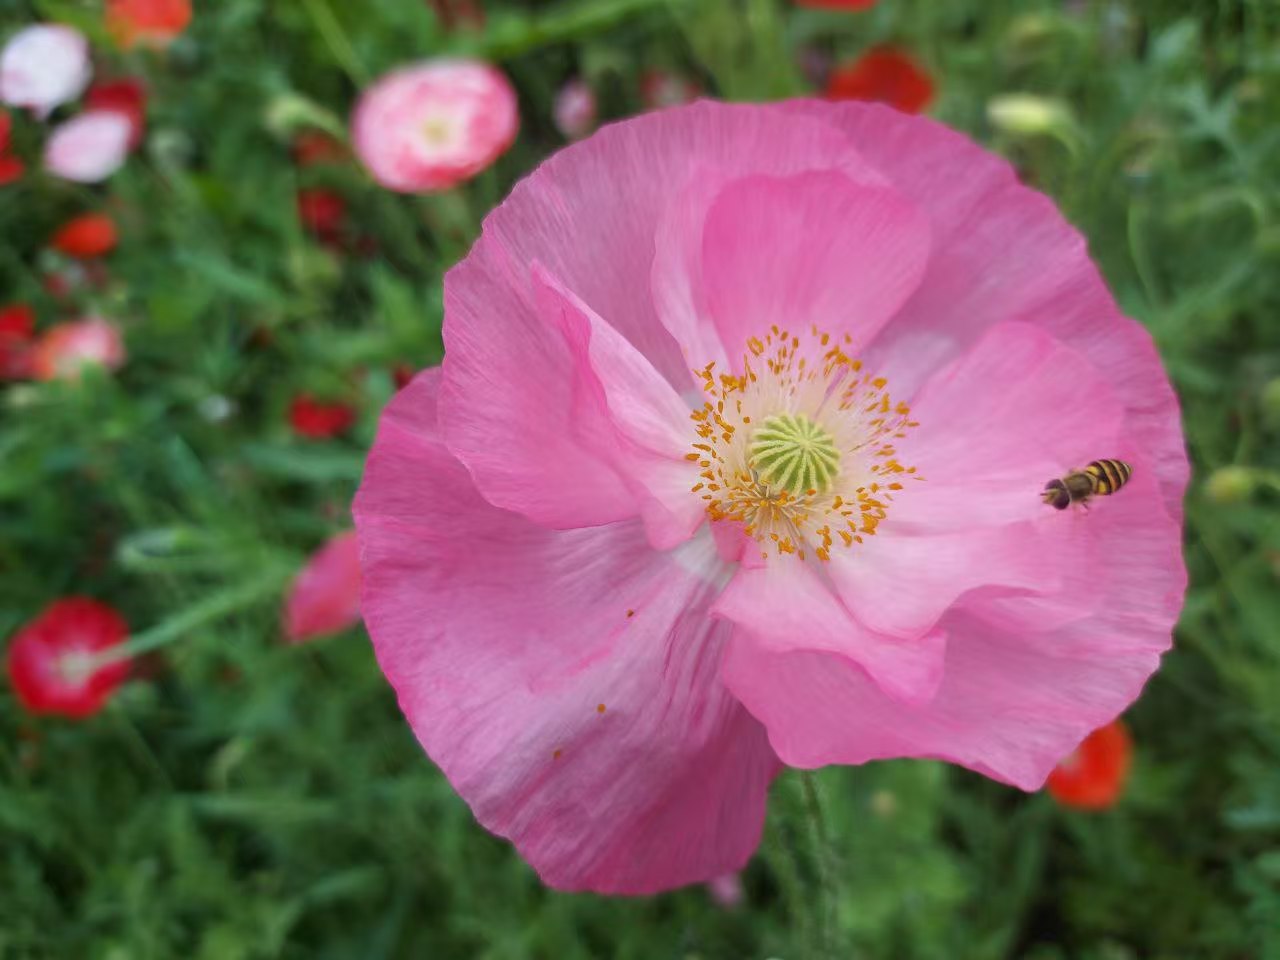 Haha, I felt young again!XuefengYesterday morning, after breakfast, I started ch
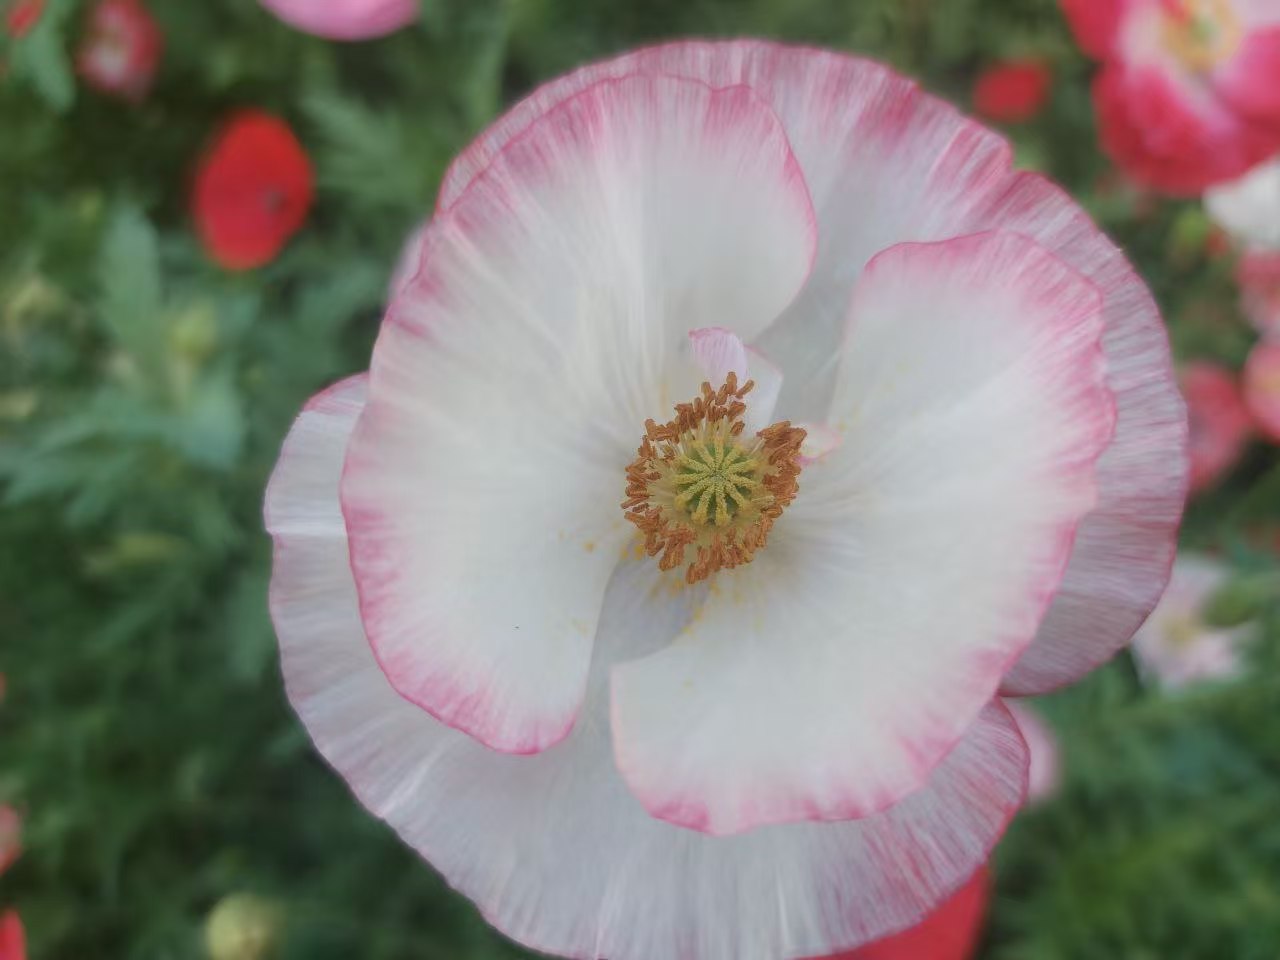 Papaver rhoeas: The Designated Flower of Lifechanyuan
by Xuefeng
August 20, 2024
 Joyful Games and Warm Welcome for Gabi at Lifechanyuan's Thai Home
Qianzi Celest
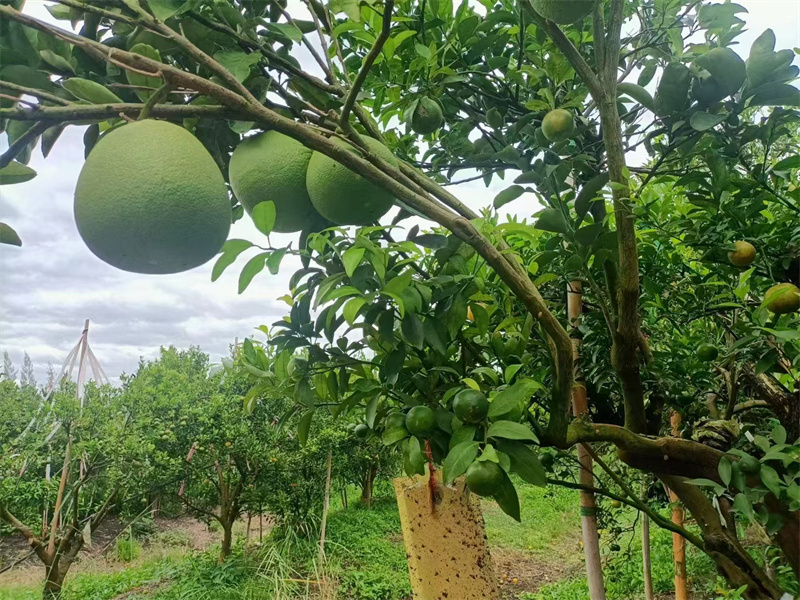 Chilean Girl Gabi Experiences the Life of Lifechanyuan Thailand Second Home Comm
 Another Clean and Tidy Joy House
In the tourist resort Holy Land Home, the guide
 Post time 2017-11-08 13:39:19
|
4129views0replies
Show the author posts only
|View large image
 |Descending
|Read mode


 Favorites
 Relay
Relay Shares
 Collection